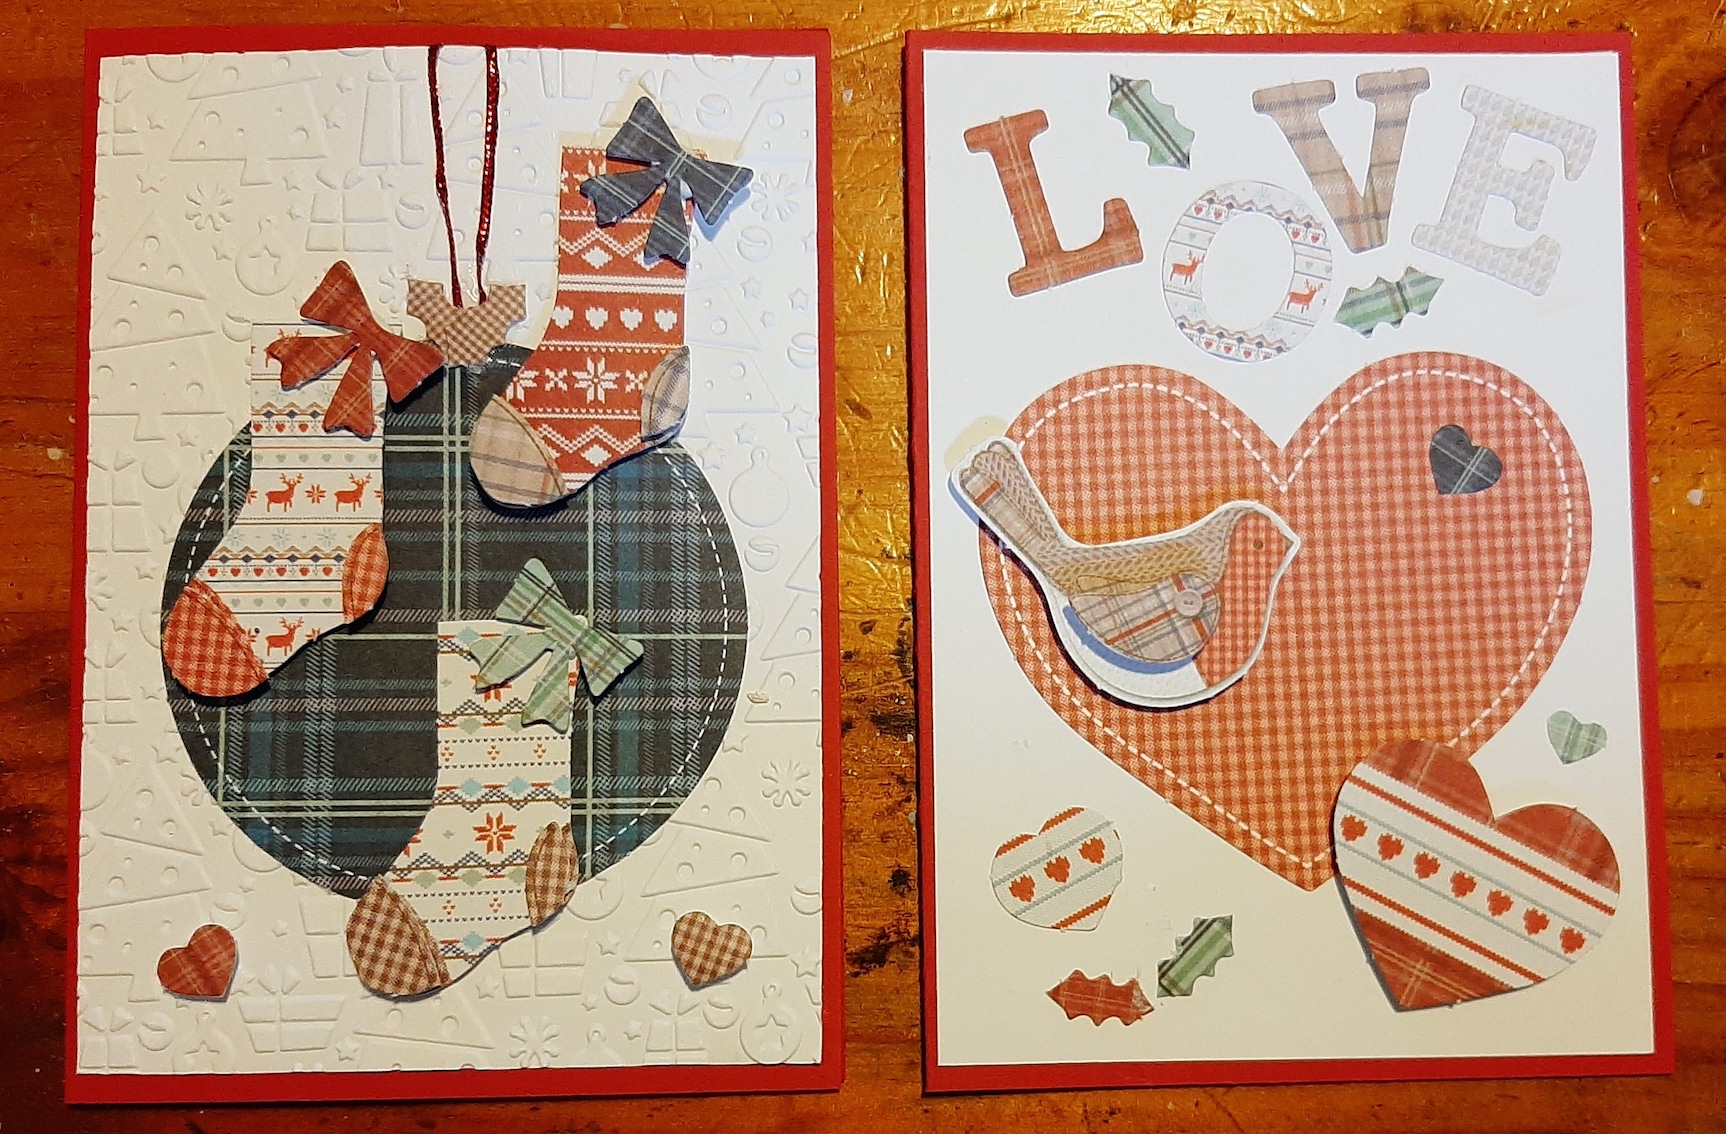
Christmas means Christmas cards. This year I decided to use up the Christmas card “kits” that I had in my stash, particularly the 3D decoupage page pages that had been sitting unloved for almost 10 years. Apart from one or two sticker sheets that I just can’t bear to part with, what doesn’t get used this Christmas is going to the local Kindergarten.
I had lots of fun making these cards but I made mistakes and had some challenges. Never be afraid of your mistakes – if you don’t like the way they look then take the card apart, salvage what you can, and start again. Even better still, jazz it up and call it a design feature.
How To….
Firstly, what is card decoupage? Well, it’s not traditional decoupage – no picture mosaics or Mod Podge. Card decoupage is 3D card making where the picture is built up in layers so that the picture is in 3D, rather than making a popup cord. If you are searching online, search for “3D Decoupage”.
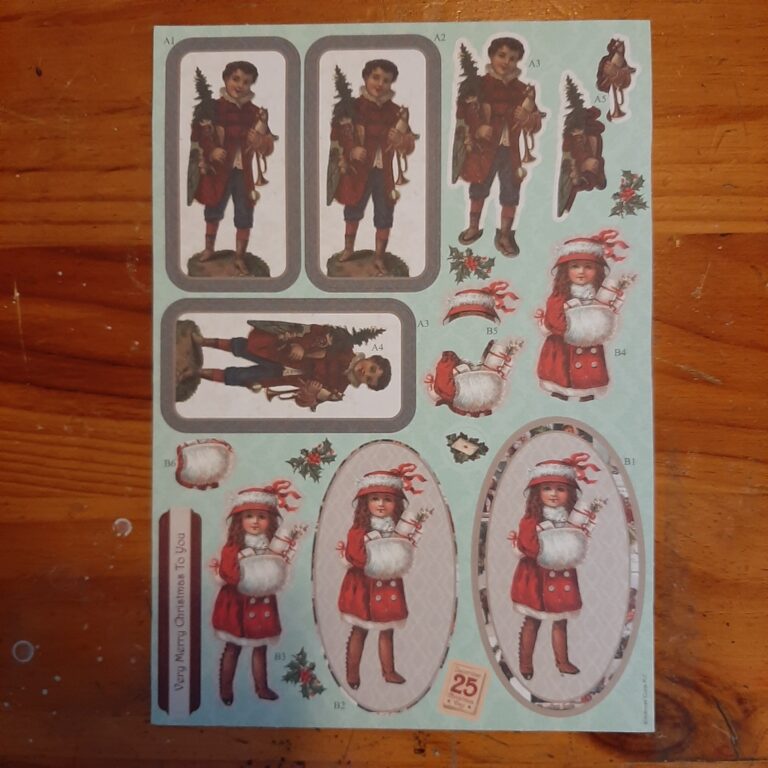
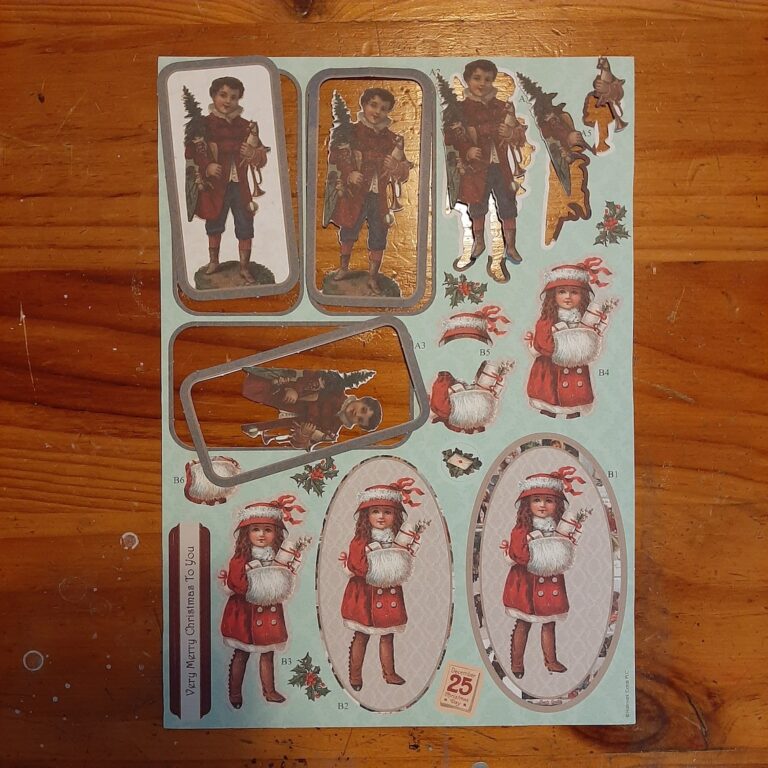
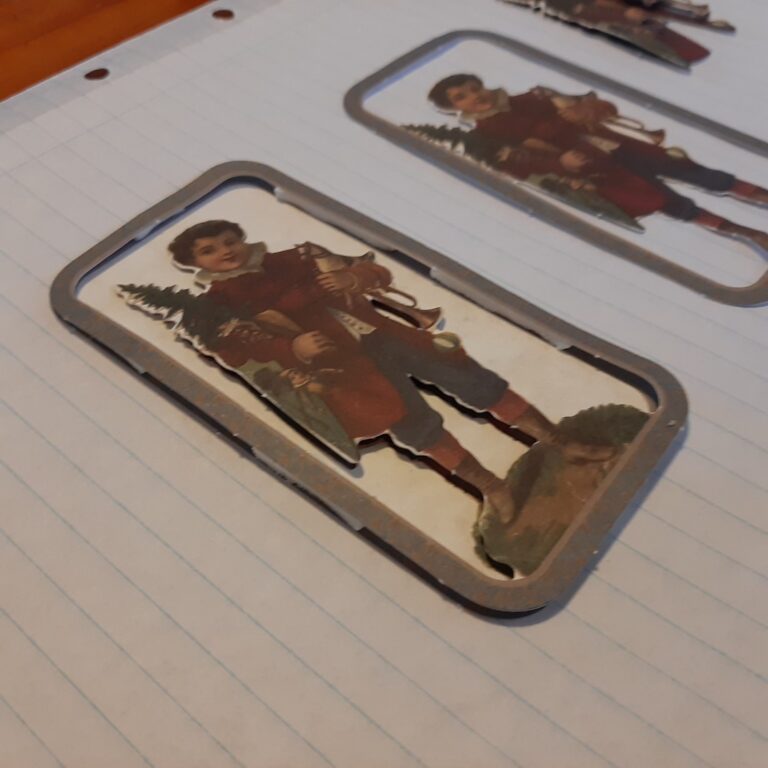
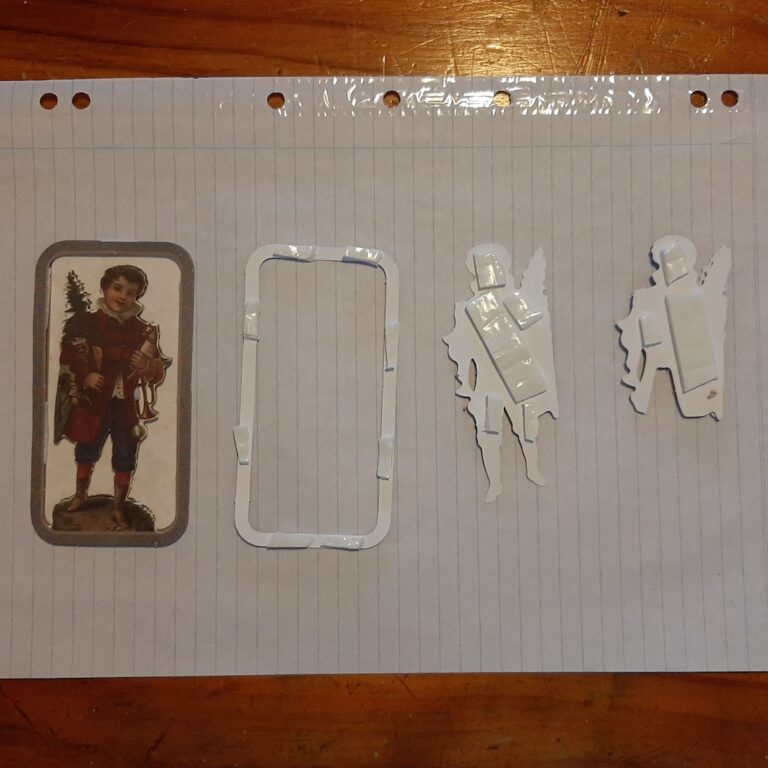
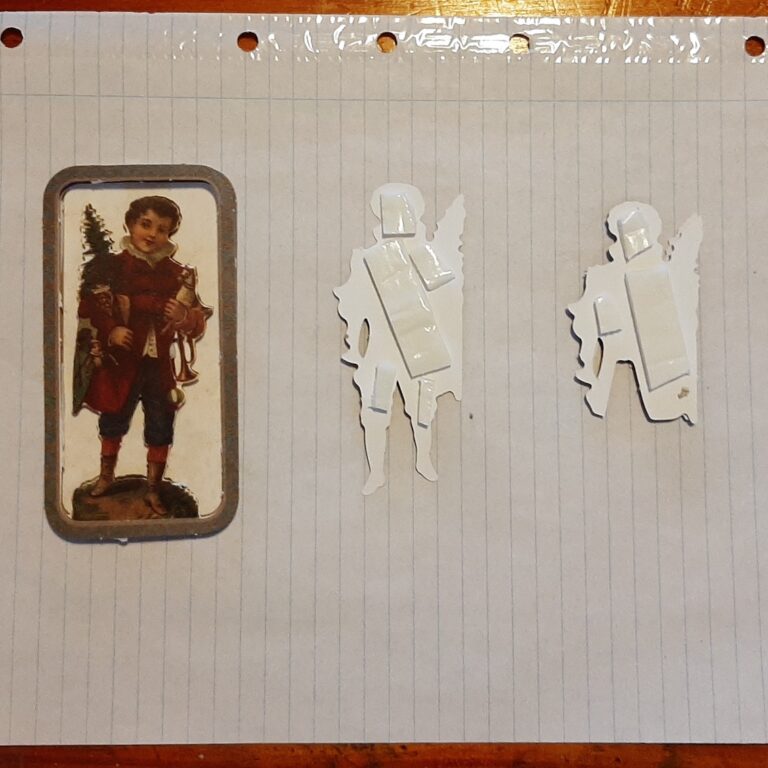
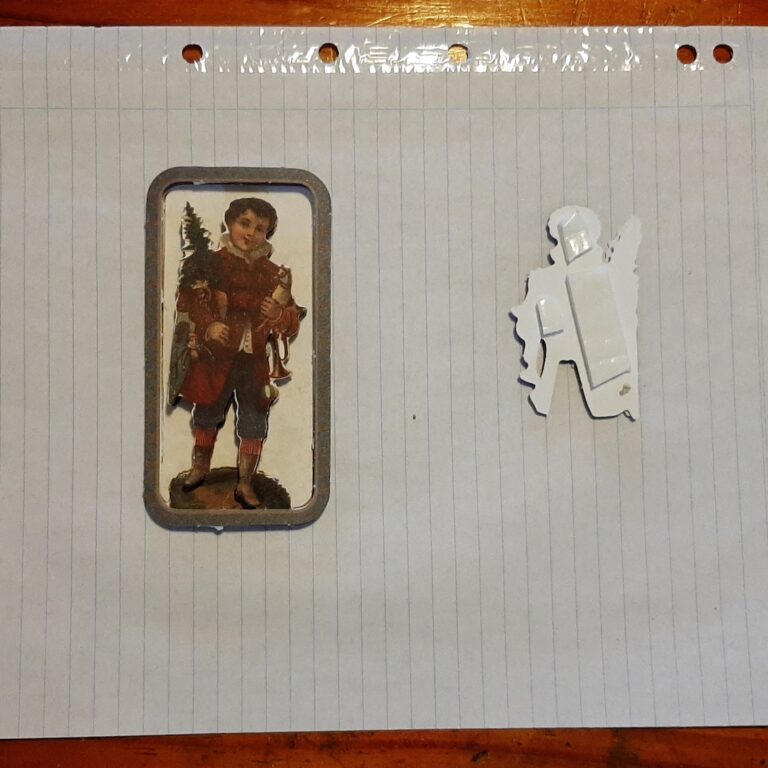
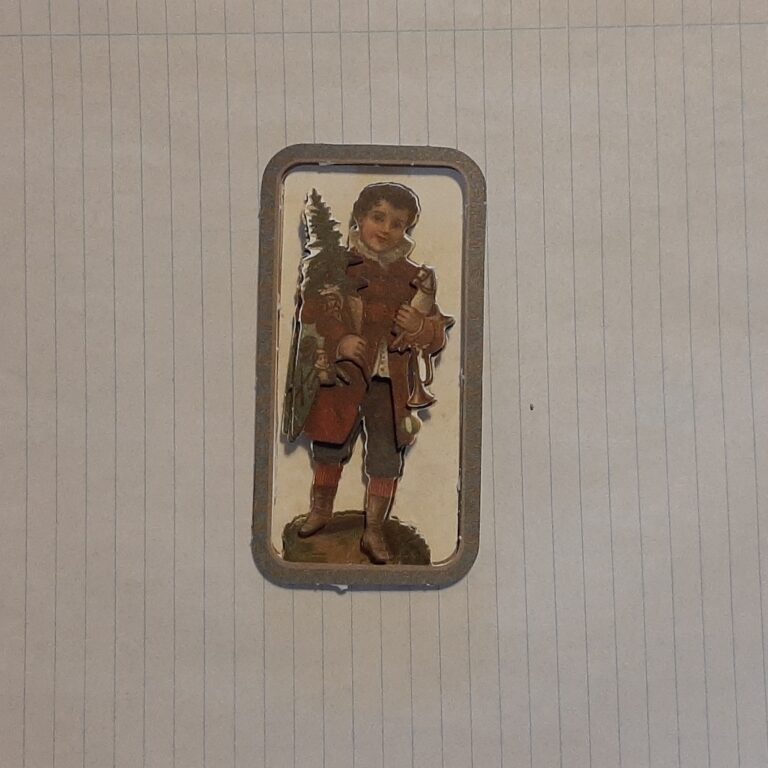
It comes on a sheet as shown below. Look for ones that are printed on light card stock and are marked as precut. Usually, there is a large background image and then a series of numbered layered images. Number 1 goes at the bottom. Pop out each piece in order and then layer the pieces using double-sided foam. I like to work from the bottom to the top but sometimes I will do a smaller side piece in a few layers and then add it to the main piece. Once I have all the layers, I then add the layers to the background image.
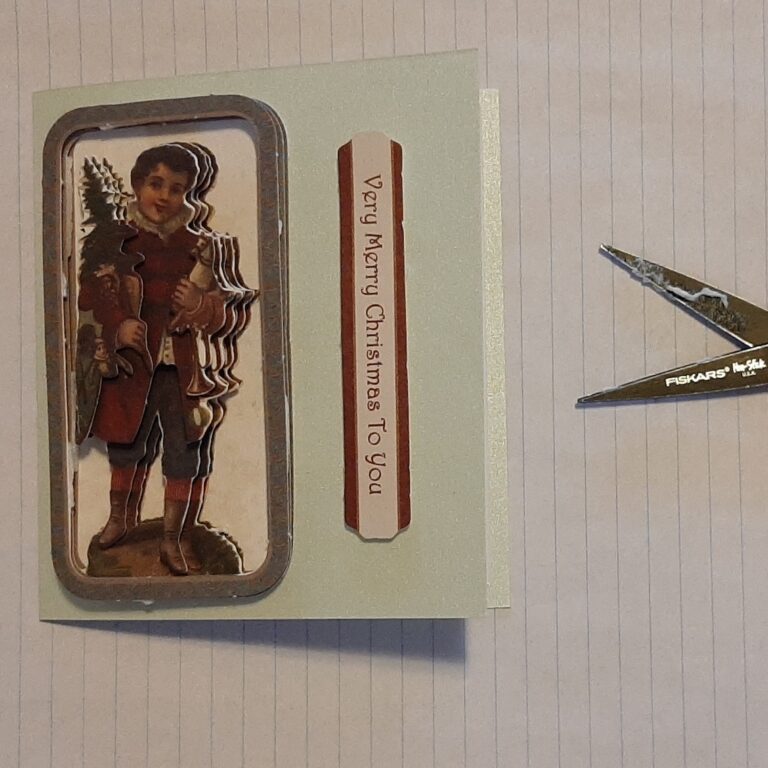
Then it is a matter of matting (if you think it needs it) and attaching it to the card front.
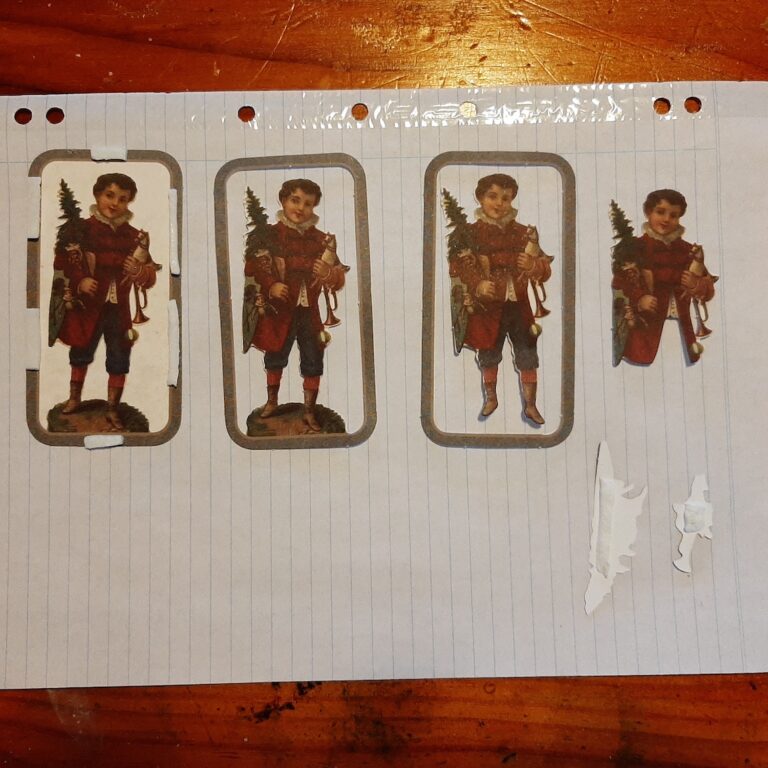
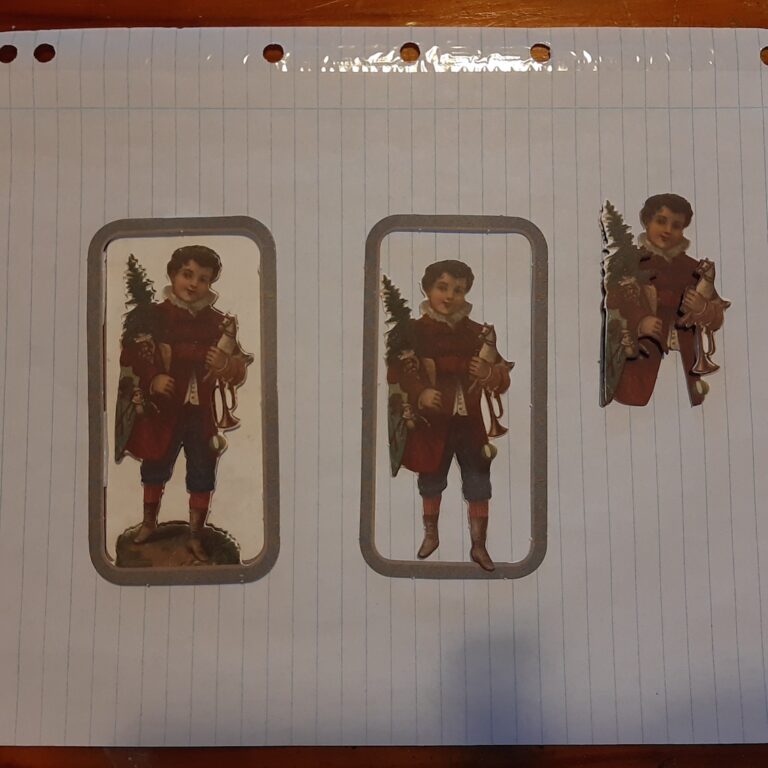
Normally I only pop out the pieces I am going to use straight away, so I don’t get confused, but I’ve popped out all the pieces in the photos to try to explain what I’m doing. The skinny frame was giving me problems as it was hot and muggy and the foam tape wanted to stick to everything, including the non-stick scissors, but not the cardstock. Next time it’s this hot, I will try sticking the foam tape in the fridge.
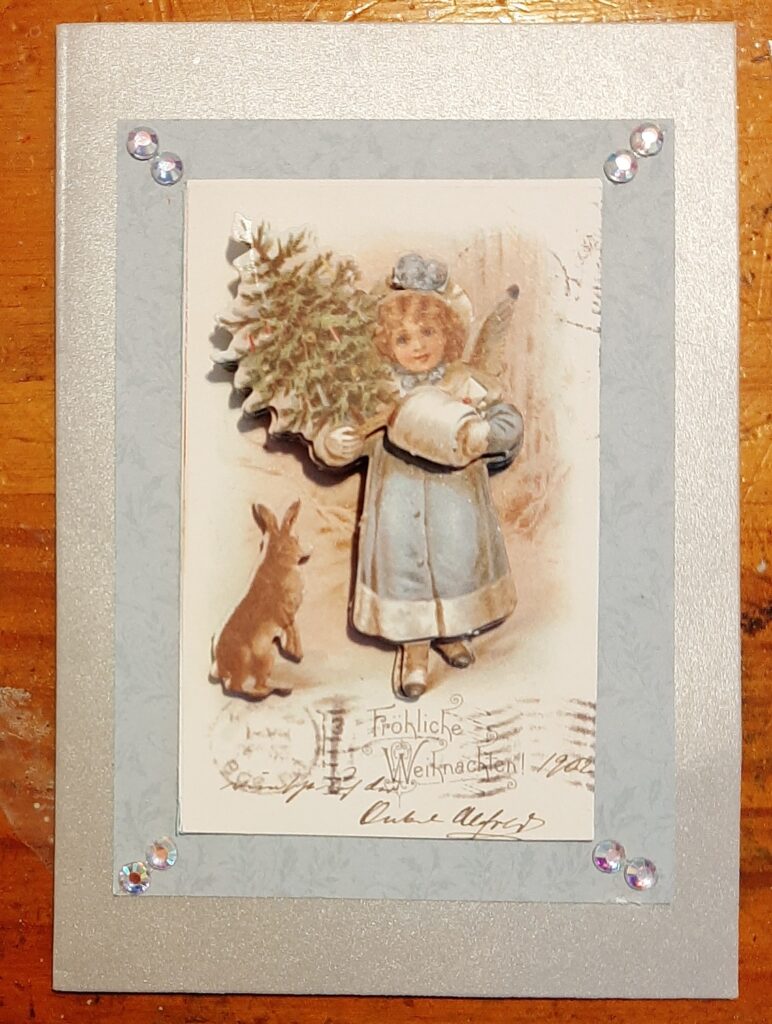
O Christmas Tree, O so Shiny Tree
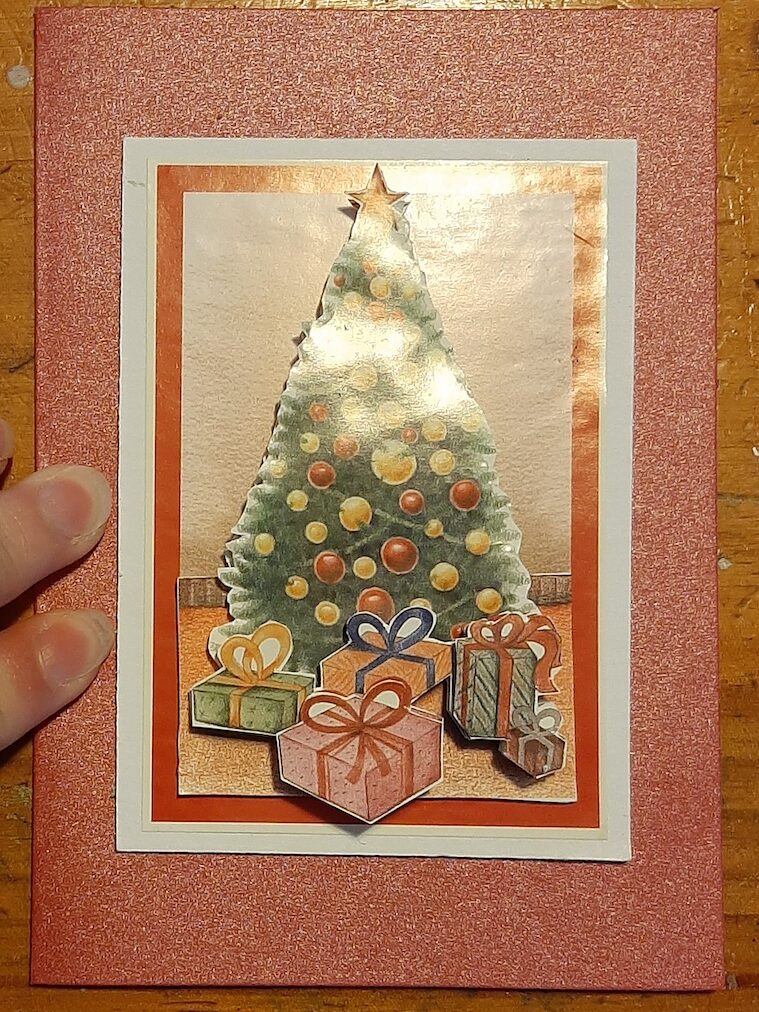
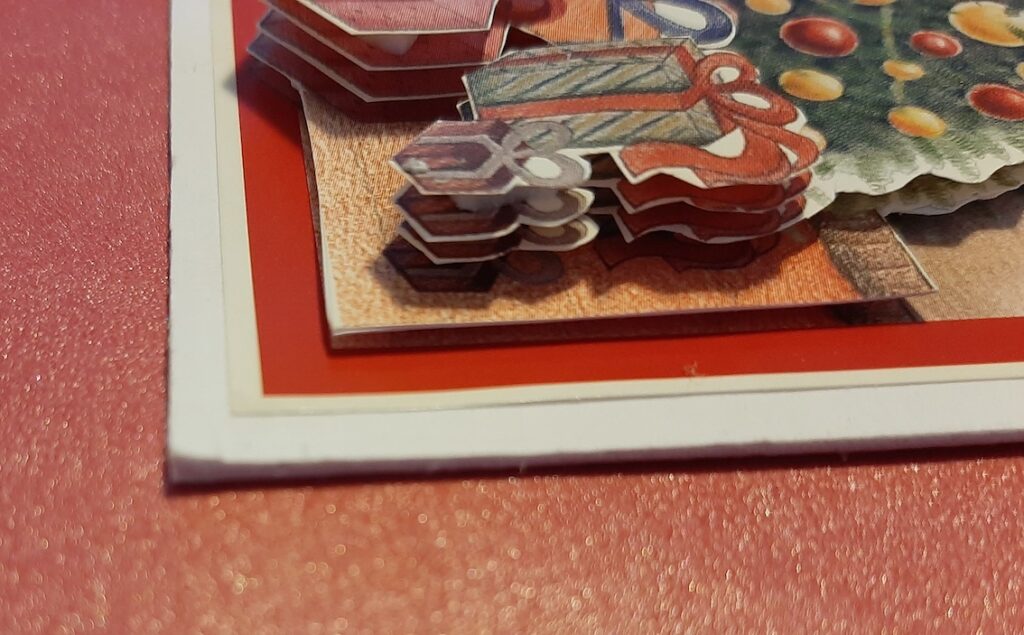
So, I had these trees in my stash that were printed in glossy thin paper. While the glossy look is really nice, the thin paper posed a few issues.
- Fussy Cutting. Not my favourite pastime. The fix? Only buy pre-cuts in future.
- Toooooo thin to be rigid. The top of the tree was on a definite lean even though it had sticky foam behind it. The fix? Glue the large tree to a scrap of cardstock and fussy cut (again) to give a rigid piece.
- The background seemed very flat on the card due to the paper’s thinness. The fix? Use a thicker piece of card as the mat to give more dimension.
Embellishment Redemption

Month ago I tried some Nuvo Glitter Drops that had been sitting in the stash for a few years in the corners of a mat. Hmm, I clearly need some more practice with the Drops as they went flat. So the card when into the naughty corner.
So what to do? Out came the tweezers and removed the decoupage from the blue mat. The tweezers are flat so they slide under the decoration and slice through the tape/glue without damaging the image.
Blue mat into bin. Look back into the pack and discover there is complementary blue paper in the pack. Win!
So, audition a few possibilities, re-mat, and re-fix to a card. This time some jewels will do for the corners. Saved!
Inside Matters
Too often my card insides are an afterthought. I’ve done the single square of white paper in the past but it feels too homemade for me. I wanted to do the thin / translucentish paper inserts you get in professional cards. But where to get the thin paper at a reasonable price?

Yep, 60 GSM paper in a kids’ blank scrapbook from the local discount store. Typical paper for a printer is 80GSM, so look for 40 to 60 GSM. Would I use this in scrapbooking? No, as I doubt it is archival quality. But for a Christmas Card? Certainly.
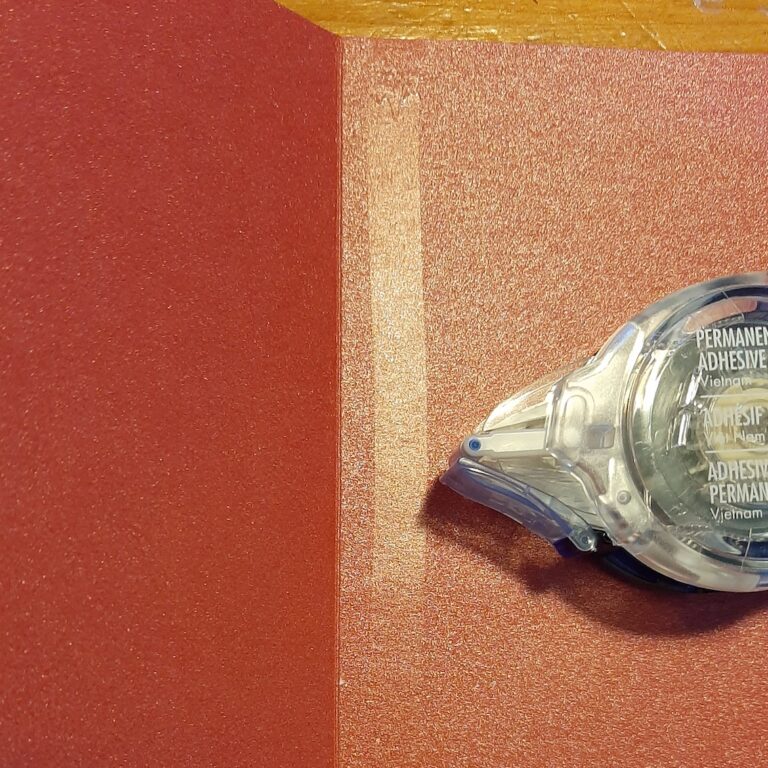
- Trim down the paper to about 10 mm (3/8″) smaller than the card, fold it in half, and put a nice crease down the fold.
- Using your double-sided tape or glue put a thin strip of sticky next to the back fold of the card. I use a tape runner for this as it is quick and easy.
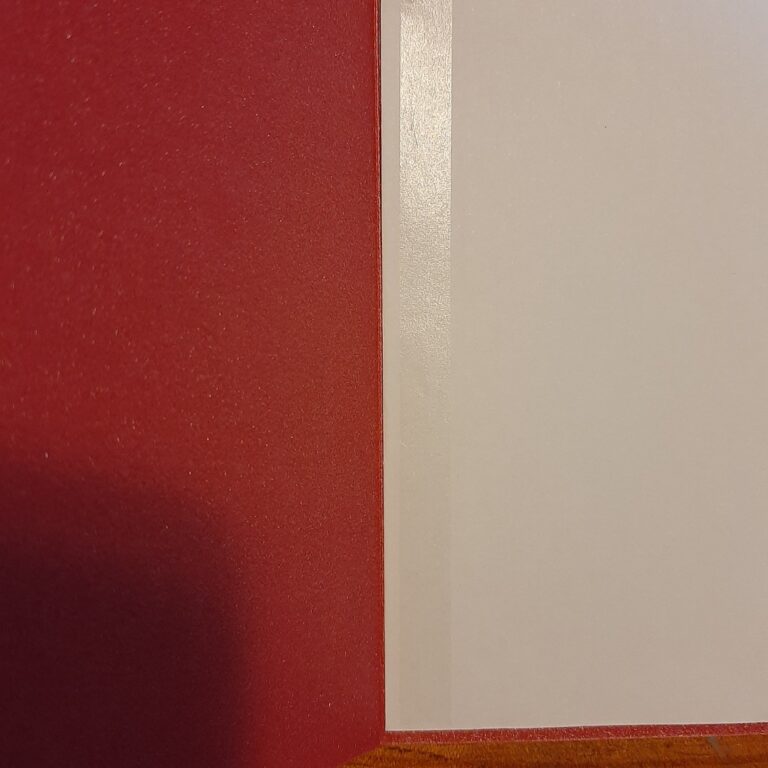
- Stick in the insert then put a matching strip of tape/glue on the insert paper.
- Carefully close the card so that the insert sticks close to the card fold and rub the card spine to stick it all nicely.
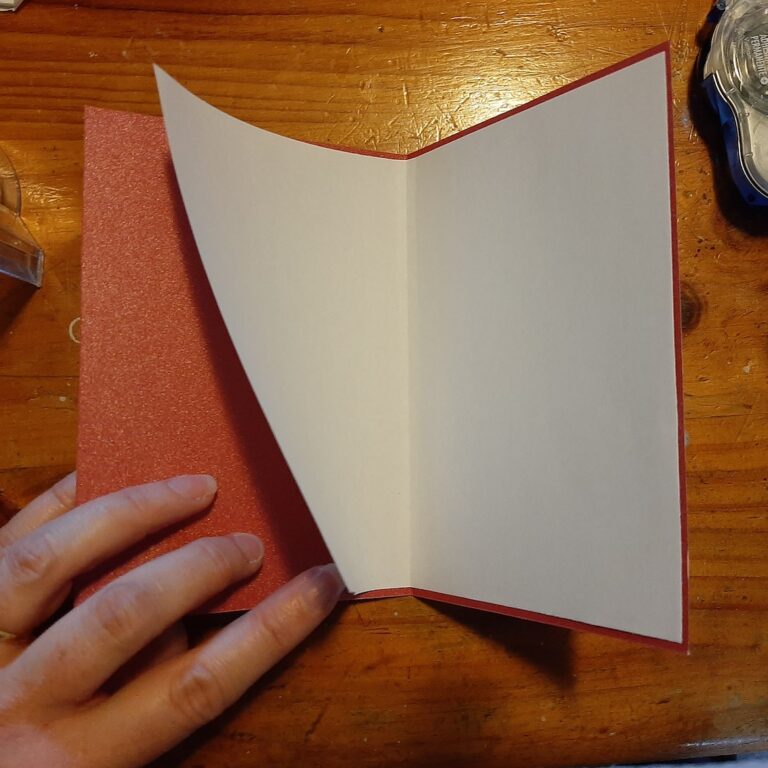
- Design feature: Depending on how you close the card, the insert sticks out a bit from the card fold. This helps the card to stay standing up nicely. Well, that’s my excuse and I’m sticking to it.


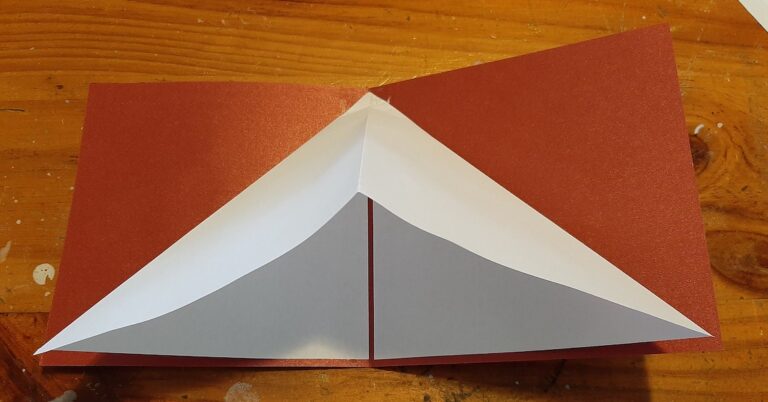
Ooopsy
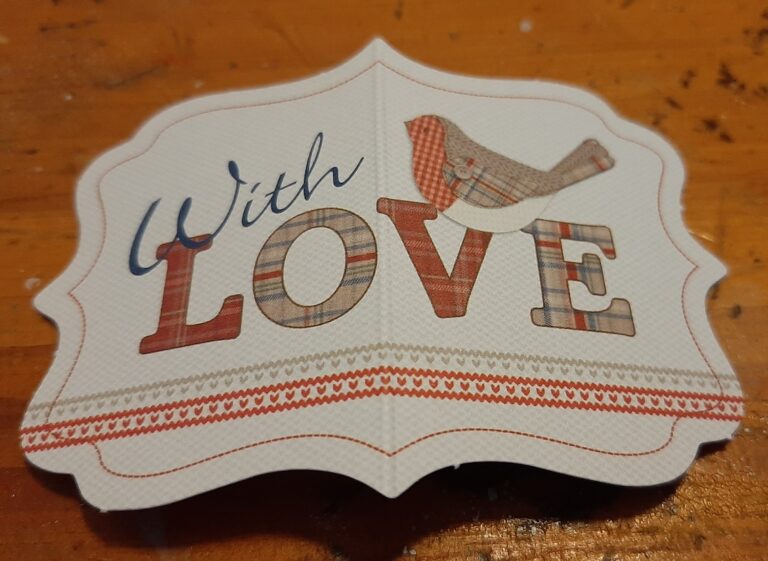
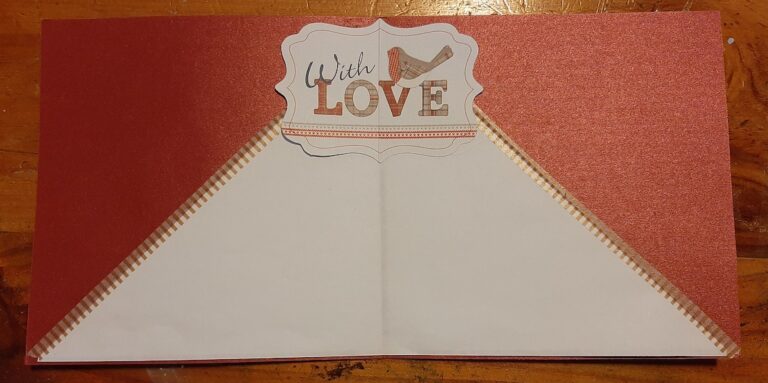
I tried putting the sticky strips on both sides of the insert fold and then putting it in the card. Only I put the sticky strips next to the open edges, not the fold and then stuck in the insert, with the open bit in the crease. I ended up with a triangular insert. So, washi tape to hold down the triangles flat, find an embellishment, crease it in the middle and stick it up the top. Voila! An insert with a difference.