Rod Pocket or Hanging Sleeve. Same thing, two different names.
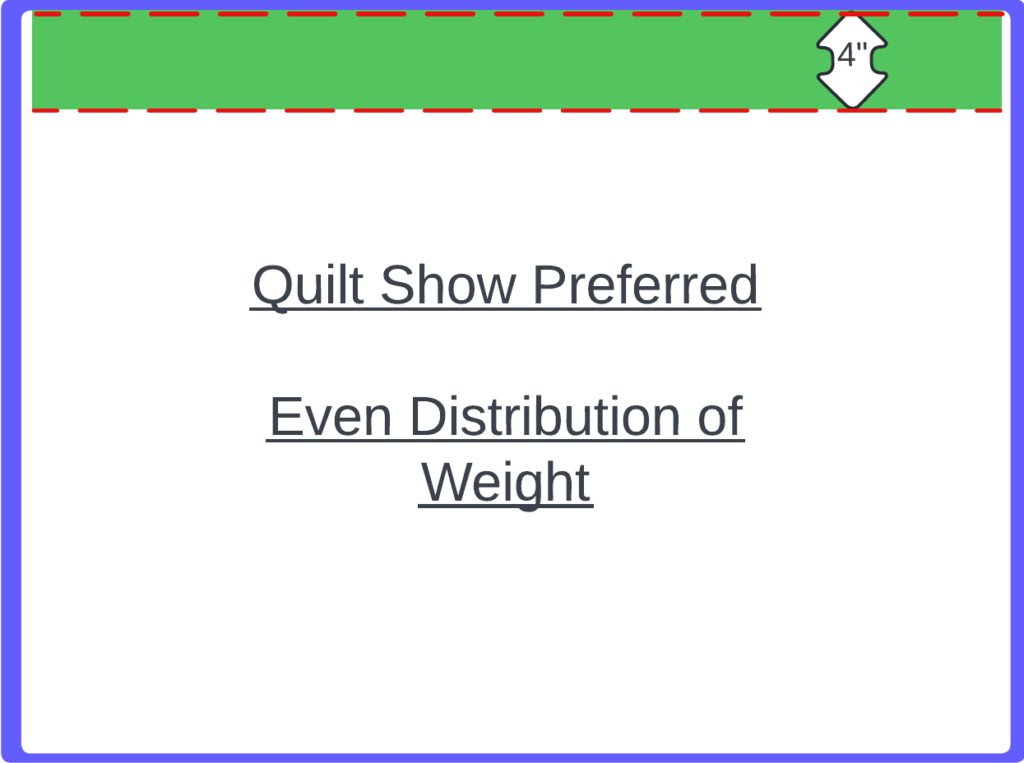
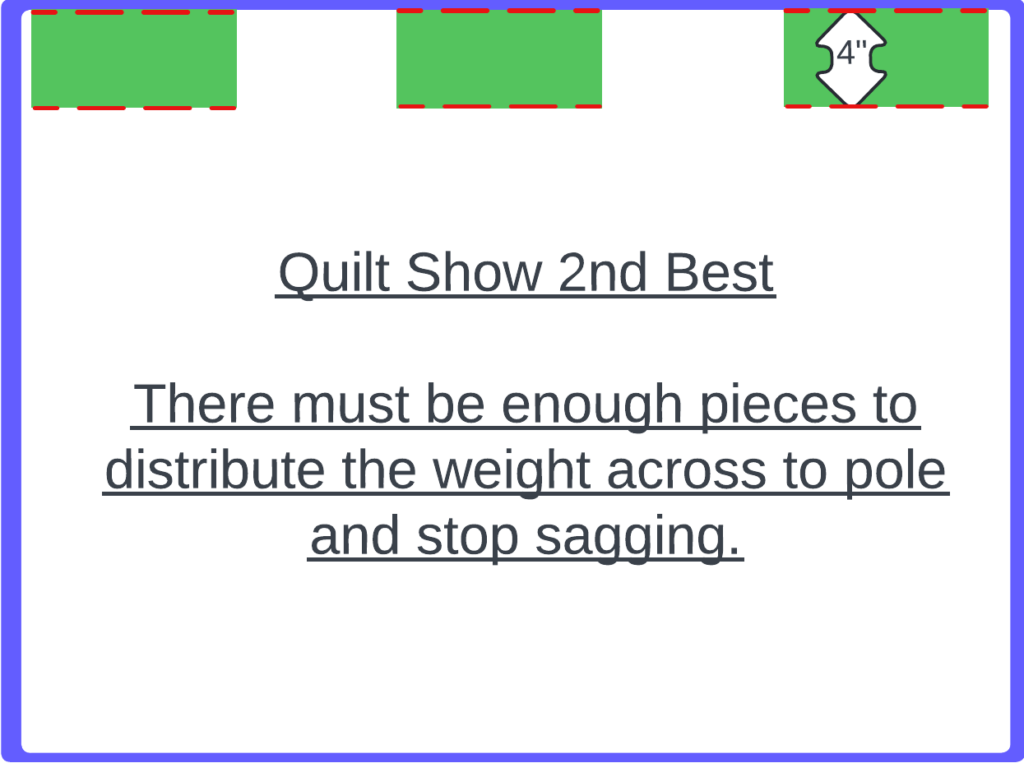
They are the thing at the back top of the quilt that allows you to hang up your quilt on a rod. Most quilt shows require that your quilts have a rod pocket of about 3″ so that they can hang your quilt on the stand crossbars.
4″ is a standard Rod Pocket size. This means it should be 4″ high, and it should go across the width of the quilt.
Single vs Double Layer
Some people do their rod pockets as a tube and then put the tube on the back. This protects the back of the quilt from the wooden / metal rod. If you have loose stitching, a pale colour back or a large (say Queen size or bigger) quilt then this is the best option.
If you have a smaller quilt and it’s just a temporary rod pocket for the show, you can get away with just a single piece of fabric with the sides ironed in as little hems.
No Pins!
Most groups specify no pins. That means no pins. No straight sewing pins. No safety pins. You sew your rod pocket on. Even big basting stitches are better than safety pins. No one wants to give your quilt back to you with torn backing because the safety pins couldn’t handle the weight of the quilt. No one hanging your quilt wants the safety pin to come open and jab them.
When they say no pins, they mean no pins.
Permanent vs Temporary
If you have a large quilt that will be hung in your local show and then spend the rest of its life on the bed, then a quick and dirty temporary pocket is fine. This should be sewn on after the binding is on the quilt and you can remove it afterwards and use it on another quilt.
If you are going to hang the quilt again in the future then go to a bit more effort. Plan ahead and make the rod pocket out of the same fabric as the backing so it isn’t obvious. Pin the top of the rod pocket on the back before you sew your binding. Then when you sew your binding the top of the rod pocket is sewn on at the same time.
Leaving Some Space
You need to allow some “give” in the rod pocket so that there is room for the pole to go in, otherwise the quilt will wrap around the pole and you will see a bulge along the top of the quilt. If you are doing a tube, then you will need to make one side a little larger than the others.
If I’m doing just a temporary single strip of material, I slip my hand flat in the rod pocket to give it a bit of height and pin it down with my hand in there. Very high tech.
Putting it all together
I love this video – she shows how you can make a tube including the give for the pole and shows sewing it on either before or after adding the binding. I don’t bother sewing the hem on the ends of the tube – I just fold ’em under and press them.
Blind Hem Instead
Not into the hand sewing of the top/bottom of the quilt? If you know how to Blind Hem then stitch them using a Blind Hem foot. Fold your quilt back so the little mountains of the blind hem stitch go on the quilt, and the straight bit of the blind stitch goes on the rod pocket. This can be done on either the top or bottom of the rod pocket. I’ve never done this myself – I have a blind hem foot and will have to learn how to use it one day!
Alternatives
If hanging a quilt at home, you can think about putting on triangle corners on the back of your quilt, then the holding rail goes into these corners and the holding rail is held up in the center. Bit like hanging clothes on a clothes hanger.
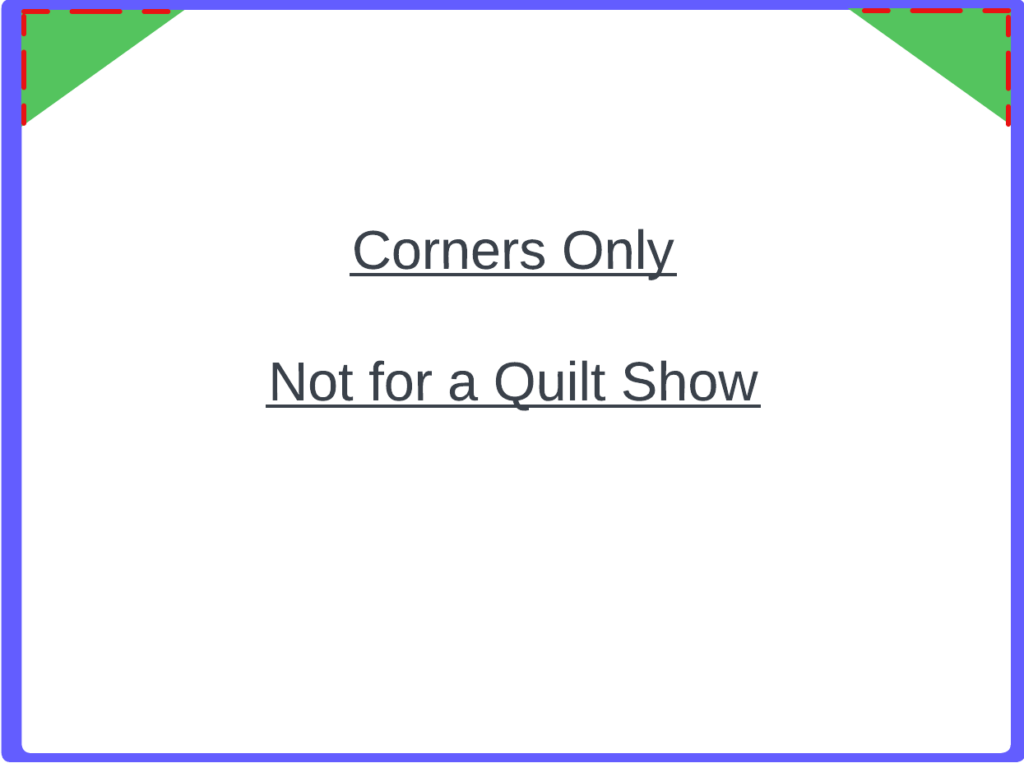
Two issues with this method:
- It will not work at a quilt show as the rods need to stick out on either side of your quilt.
- You have to get your hanging rod exactly the right length. Too short and the quilt will sag or the hanging rod will fall out. Too long and you will stretch the fabric and put the stitching under tension.
I prefer the rod pocket myself.